
How to find a free FM frequencies for FM radio transmitters?
Finding a suitable FM frequency is easy. By following the five simple steps in this guide, you can identify suitable frequencies for your radio station.
Step 1: Scan with a Physical Radio Receiver
Start with the simplest and most direct method: grab a portable FM radio (car radio, handheld receiver, or even your smartphone with an FM chip) and manually scan the entire FM band from 87.5 MHz to 108 MHz in your broadcast area.
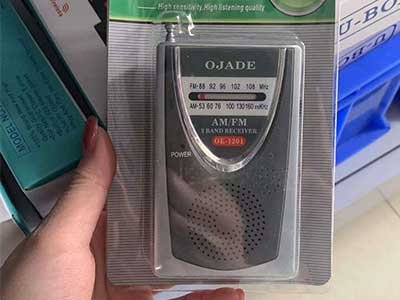
FM Radio (Complimentary from RS-RADIO and included in the transmitter kit)
- Drive or walk around your intended coverage zone while scanning.
- Note every frequency that has a station signal, even a weak one.
- Pay attention to static-only spots — these are your first candidates.
This "boots on the ground" approach gives you real-world data that online tools sometimes miss, especially for low-power or unlicensed local broadcasters.
💡 Tip: If you’re testing multiple candidate frequencies later, having a reliable transmitter on hand makes the process much faster. RS RADIO’s 1U series (50W-200W) units are compact, easy to move around for field testing, and can be powered up in minutes to check real signal behavior on any candidate channel.
Step 2: Search Your City or ZIP Code on Radio-Locator
Next, cross-reference your findings with Radio-Locator, a free online database that lists all licensed FM stations near a given city or ZIP code.
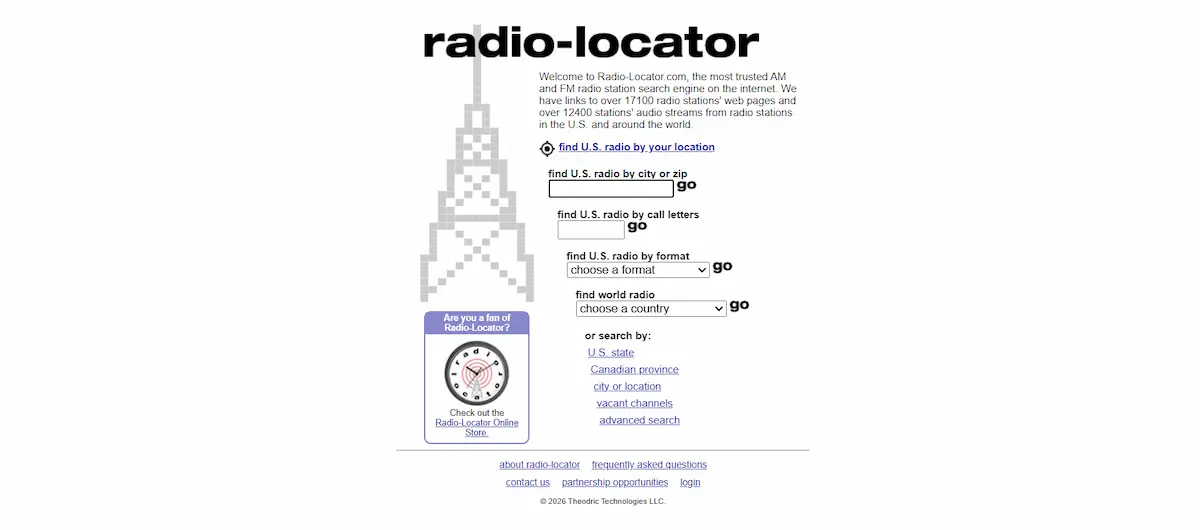
- Go to Radio-Locator and enter your city name or ZIP code.
- Select "Search Nearby Stations."
- Review the full list of stations, their frequencies, power output, and distance from your location.
This step helps you identify which frequencies are already licensed and actively broadcasting in your region, giving you a much broader picture than a manual scan alone — especially for stations located just outside your immediate listening range but still capable of causing interference.
Step 3: Shortlist a Few "Quiet-Looking" Candidate Frequencies
Based on your radio scan (Step 1) and the Radio-Locator results (Step 2), compile a shortlist of 3-5 frequencies that appear to have:
- No audible signal during your manual scan
- No listed licensed station within a reasonable radius on Radio-Locator
- At least 400-600 kHz separation from strong nearby stations (more on this in Step 4)
Don’t settle on just one frequency yet — having multiple candidates gives you flexibility if one turns out to be problematic later.
💡 Tip: This is a good stage to think about your equipment setup too. A transmitter, antenna, and feeder cable are the three essentials for any FM broadcast — and testing different frequencies is much easier when your gear is reliable from day one. RS RADIO builds each of these components as a manufacturer, so stations, churches, and drive-in cinemas can order a matched transmitter + antenna + cable set and avoid compatibility guesswork.
Step 4: Check the Same Channel and Adjacent Channels
A frequency might look "empty" but still suffer from interference due to nearby stations on adjacent or co-channel frequencies. For each candidate on your shortlist:
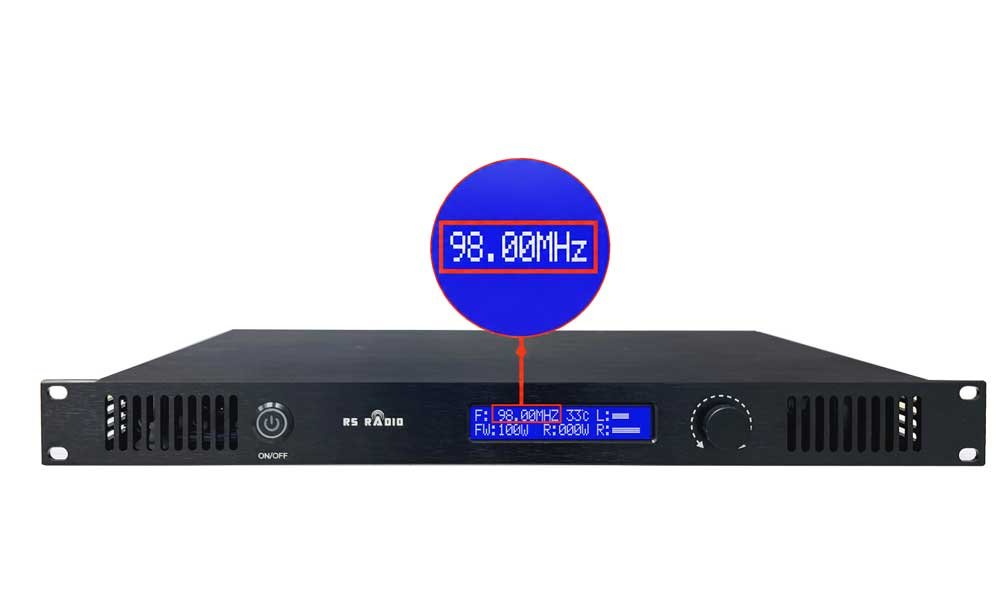
- Co-channel check: Confirm no other station uses the exact same frequency within your intended broadcast radius (this radius grows with your transmitter’s power — higher power means a larger coverage area, and consequently a larger "keep clear" zone).
- Adjacent channel check: Look at frequencies ±200 kHz, ±400 kHz, and ±600 kHz from your candidate. Strong nearby stations on these channels can bleed into your signal, especially if your transmitter power is high.
- Directional consideration: A station 80 miles away in a valley may not interfere, while one 30 miles away on open terrain might.
This is also where understanding your own transmitter’s power range matters. A 30W low-power unit has a much smaller interference footprint than a 2KW or 5KW system, so match your power selection to your actual coverage needs — broadcasting at unnecessarily high power can create adjacent-channel problems you didn’t have before.
Step 5: Confirm with the Official FCC Database
Your final and most authoritative step is to verify your shortlisted frequencies against official government records. In the United States, this means checking the FCC’s public facility search database:
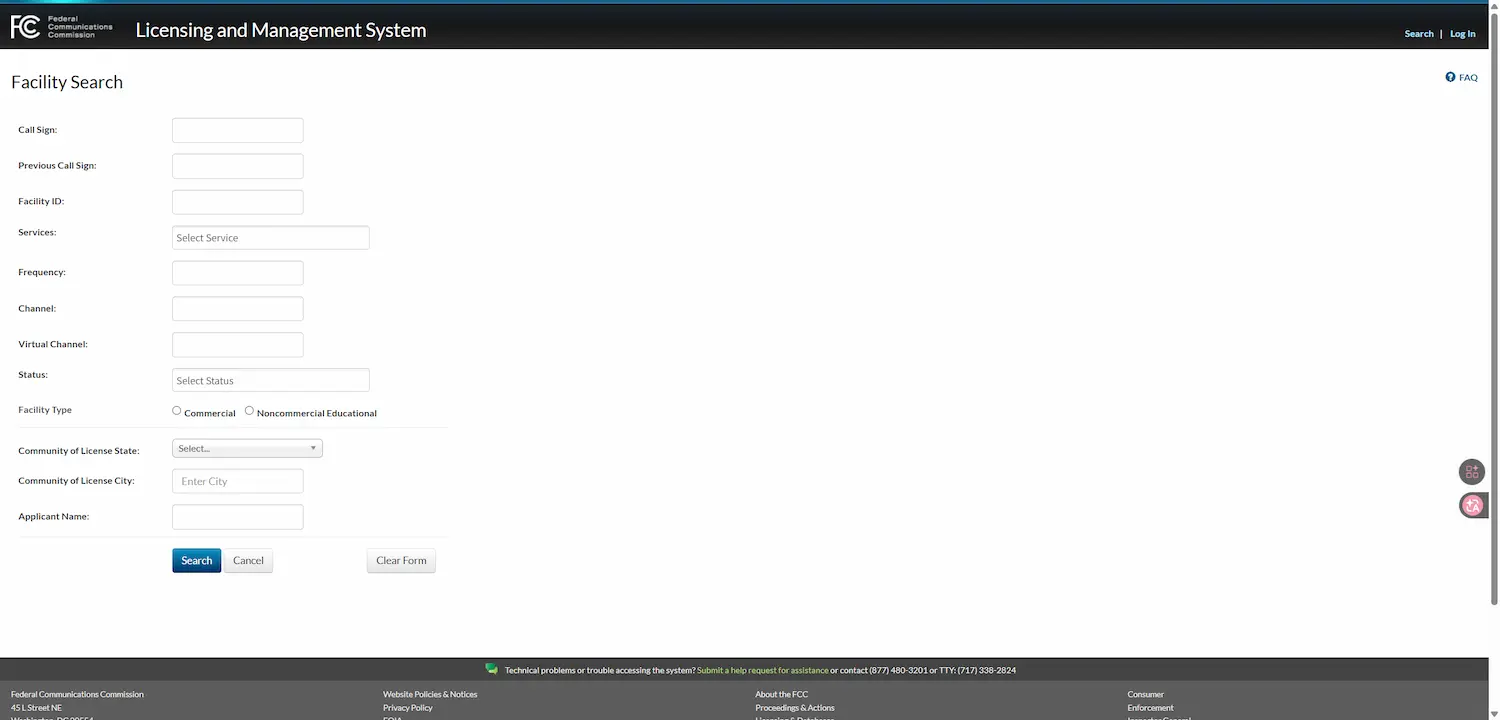
- Enter your candidate frequency and geographic area.
- Review all licensed facilities registered on or near that frequency.
- Confirm there are no protected licensed broadcasters that could cause legal or technical conflicts.
This step is essential — online tools like Radio-Locator are helpful for planning, but the FCC database is the official record of what’s legally licensed. Always complete this verification before finalizing your frequency choice, especially for any station intended for regular or long-term broadcasting.
Final Thoughts
Finding a clean FM frequency takes a mix of hands-on scanning, community data tools, and official verification — skipping any one step can lead to interference headaches down the road. Once you’ve locked in your frequency, the next priority is reliable equipment that won’t let you down.
RS RADIO has been manufacturing FM transmitters , antennas , and cables as a direct source factory for broadcasters, churches, schools, farms, and community stations across the US, Africa, and Latin America. Every transmitter — from the 30W to the 20KW cabinet systems — ships with a 5-year warranty and can be purchased as a single transmitter or as part of a complete station package, so whether you’re just getting started or scaling up your coverage, you can build with confidence from day one.
Related Articles
High Power FM Transmitter: Everything You Need to Know
High Power FM Transmitter: Everything You Need to Know I work as broadcast engineer at RS Electronics for...
Read more
Common Mistakes When Installing FM Transmitters
Common Mistakes When Installing FM Transmitters I work as installation engineer at RS Electronics for nine years installing...
Read more
8 Best FM Transmitter Packages for Turnkey Radio Stations
8 Best FM Transmitter Packages for Turnkey Radio Stations I work as broadcast systems engineer at RS Electronics...
Read more