
How to Use an FM Transmitter: Step-by-Step Setup Guide
A practical walkthrough for setting up and operating an FM broadcast transmitter, from unboxing to on-air testing.
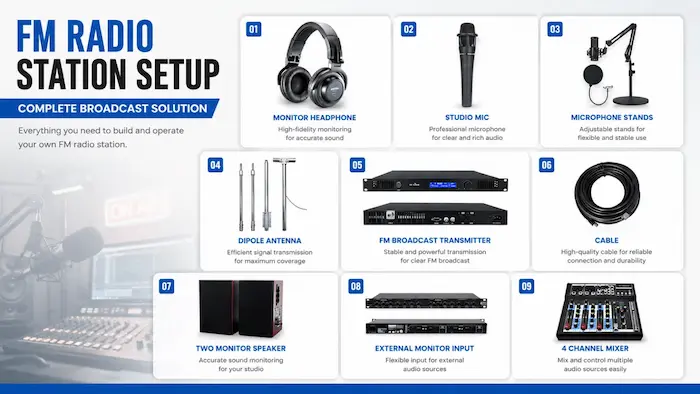
1. Choose a Suitable Installation Location
1. Place the transmitter in a dry, well-ventilated area away from direct sunlight and moisture. Adequate airflow around the unit helps prevent overheating during continuous operation.
2. Installing the transmitter in a place close to the antenna, as longer cables can cause signal loss.
2. Connect the Antenna and Cable
- Mount the antenna at the highest practical point (rooftop or tower) to maximize line-of-sight coverage.
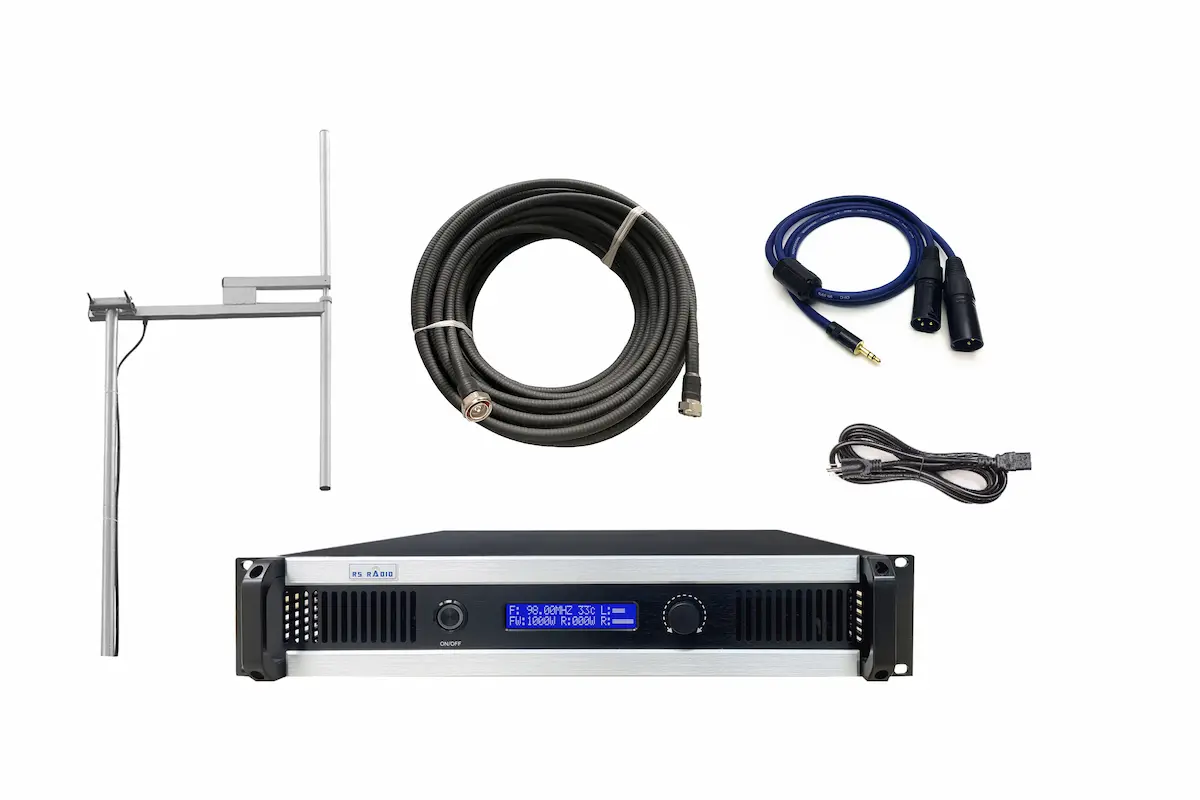
- Connect one end of the coaxial cable to the antenna's connector.
- Route the cable to the transmitter location, avoiding sharp bends that can damage the cable shielding.
- Connect the other end of the cable to the transmitter's RF output (typically labeled "ANT" or "RF OUT").
- Tighten all connectors securely to avoid signal leakage or reflection.

3. Connect the Audio Source
Connect your audio source -- such as a mixer, media player, or computer sound card -- to the transmitter's audio input using an XLR, RCA, or 3.5mm cable, depending on the model. Some transmitter models, particularly touch panel series, support digital audio input or built-in Bluetooth for wireless source connection.
Set the audio source output level to a moderate level first; you will fine-tune this during testing.
4. Power On and Configure Settings
After connecting the antenna or dummy load and powering on the transmitter, follow the steps below to configure your unit. Push the adjusting knob to confirm a selection, and rotate left/right to navigate menu options.
Video -- Step-by-step: setting frequency, audio mode, and RF power via the adjusting knob.
-
1
Turn RF Power ON / OFF
On boot, the LCD displays your model's rated value and prompts "RF POWER IS TURNED ON?". Push the knob to turn RF power ON, or rotate right to turn it OFF. No selection within 10 seconds auto-enables RF power; if declined, RF power is set to 0.
-
2
Set Frequency
Push the knob to enter "FREQUENCY SET". If auto antenna matching is available, rotate to "AUTO" and confirm to let the transmitter select the best-matching frequency. Otherwise, rotate left/right to adjust from 87.5 MHz to 108 MHz in 100 KHz steps, then push to confirm.
-
3
Set Audio Mode
Rotate the knob to enter "STEREO OR MONO", switch between Stereo and Mono audio modes, then press the knob to confirm your selection.
-
4
Set RF Power
Rotate the knob to enter "RF POWER SET" and adjust output from 0 to 50/150/300/2000W depending on your model. Step size is 0.1W for RS RADIO-30A/80B and 1W for other models. Press the knob to confirm.
-
5
PC Link
Rotate the knob to enter "PC LINK" and enable/disable by rotating to ON or OFF. Remote PC operation requires an RS232 male-to-female cable and dedicated software (disabled in regular versions).
-
6
Menu Exit
From the configuration menu, rotate left/right to "MENU EXIT" and push the knob to confirm. The transmitter returns to the main operating interface.
-
7
Audio Volume
A UV meter on the LCD displays audio volume. At operating status, rotate left/right to increase or decrease volume across a range of 0-14. Setting volume to 0 mutes the transmitter.
-
8
Temperature / SWR Protection
If temperature or SWR exceeds the protection threshold, an alarm is shown on the LCD and RF power is automatically set to 0. After resolving the issue, press the knob to exit the alarm status, then reset RF power manually.
For complete wiring diagrams, protection specs, and troubleshooting, refer to the full user manual.
Download Full Manual (PDF)5. Test the Broadcast
Using an FM radio receiver, tune to the configured frequency at various distances from the antenna to check signal clarity and coverage range. Adjust audio input levels if the sound is distorted or too quiet.
Monitor the transmitter's display or indicator lights for any warning signals during this initial test period.
6. Monitor Operating Temperature
Most FM transmitters include a thermal protection feature that automatically activates a self-protection mode if internal temperature reaches approximately 60°C, temporarily reducing output to prevent component damage. Ensure the installation area allows for adequate heat dissipation, and periodically check that cooling fans are functioning correctly.
7. Basic Maintenance Tips
- Regularly inspect cable connections for corrosion or looseness, especially in outdoor installations.
- Keep ventilation openings free of dust to maintain effective cooling.
- Avoid operating the transmitter at maximum power for extended periods unless the unit is rated for continuous full-power use.
- Refer to the printed manual included in the packaging for model-specific troubleshooting steps.